Switching accounts on the Xbox app on Windows 11 and then screen recording while playing games is a simple process and suitable when you are sharing your computer with others, or just want to play games using a different profile. You can sign out of one account and sign in to another on the Xbox app in Windows 11 easily.
In this article, we’ll show you how to switch accounts on the Xbox app on Windows 11. With a step-by-step process, you’ll be able to sign out of your current account and sign in with a new one. By the end, we’ll also provide some helpful tips to ensure a smooth account-switching process.
Related: How to Disable Game Bar in Windows 11 Temporarily/Permanently
So, let’s get started and manage multiple Xbox accounts on Windows 11.
Quick Guide
- Switching Accounts: Open the Xbox app > Click on the profile > Select “Sign Out” > Click on “Sign In” > Select “Add New Account” > Enter the credentials of the new account > Click “Sign In” to switch to the new account.
- Tips: Keep things organized with separate user profiles for each person to play the games. Set permissions for game purchases and online access and enable Xbox Cloud Gaming to sync your game progress across devices. You may consider separate local accounts for multiple users to maintain privacy. You can also set up Windows 11 without a Microsoft Account. Finally, keep your software updated for a smooth Xbox experience on Windows 11.
Account Switching on Xbox App for Windows 11
Here’s how you can change account on your Xbox app in Windows 11:
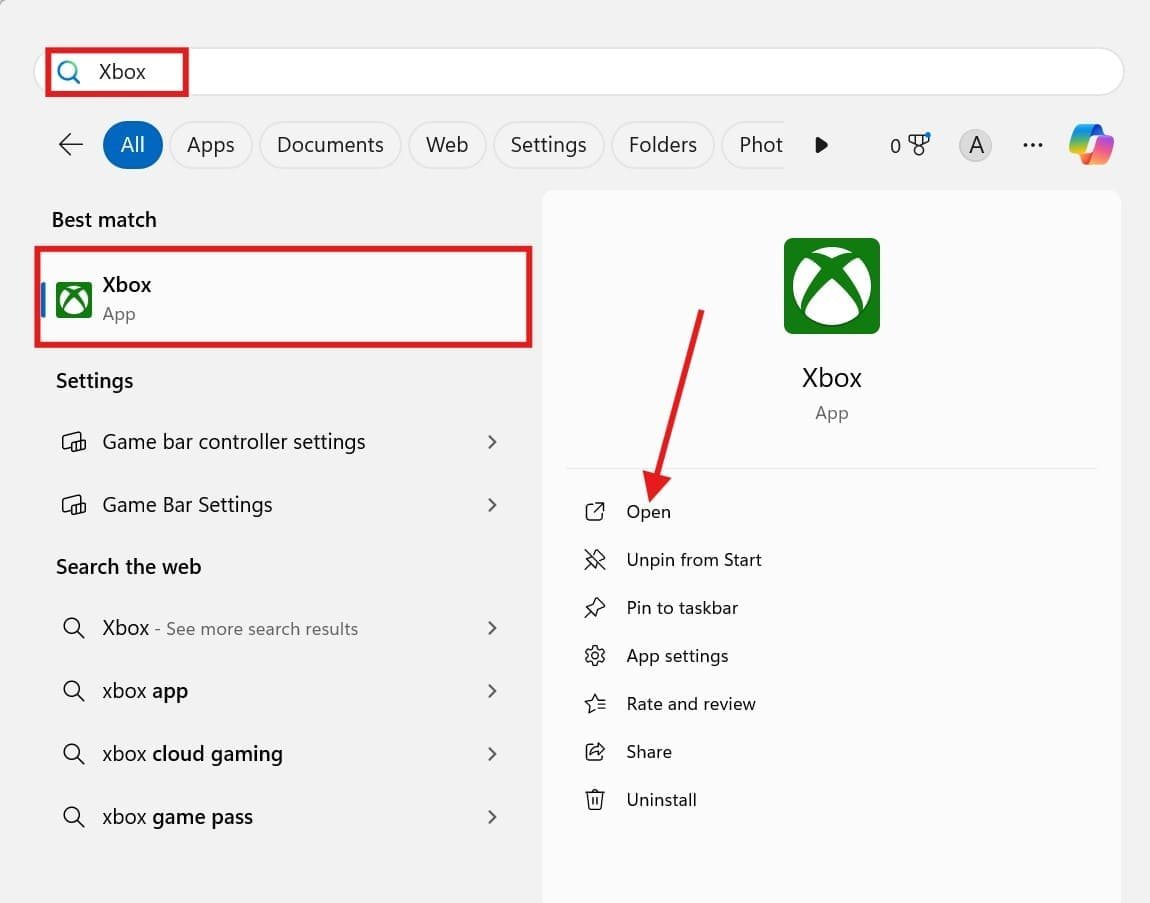
- Click on the Windows Start icon (bottom left corner), or press the Windows key search for “Xbox” and open it. You can also use “Windows key + G” to open the Xbox Game bar.

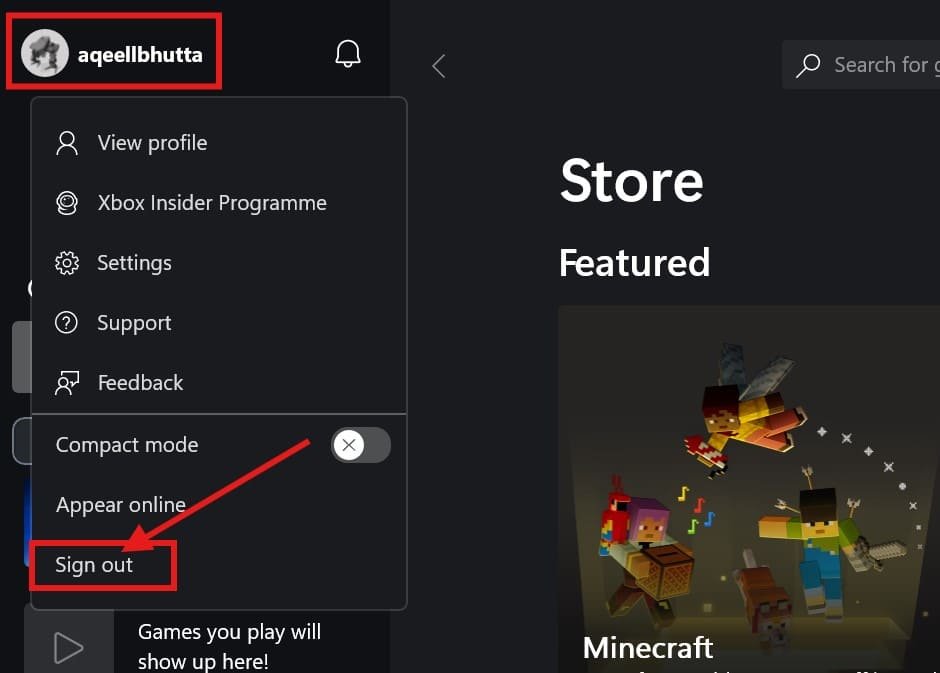
- Once the Xbox App opens, Click on the profile picture and select “Sign Out” from the drop down menu.

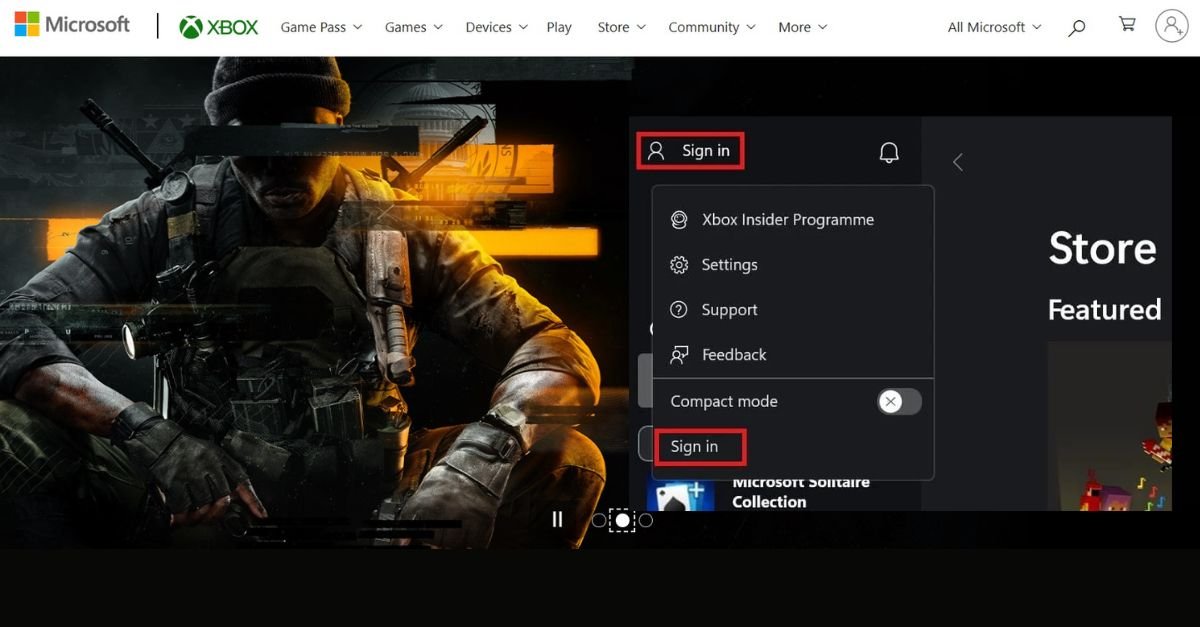
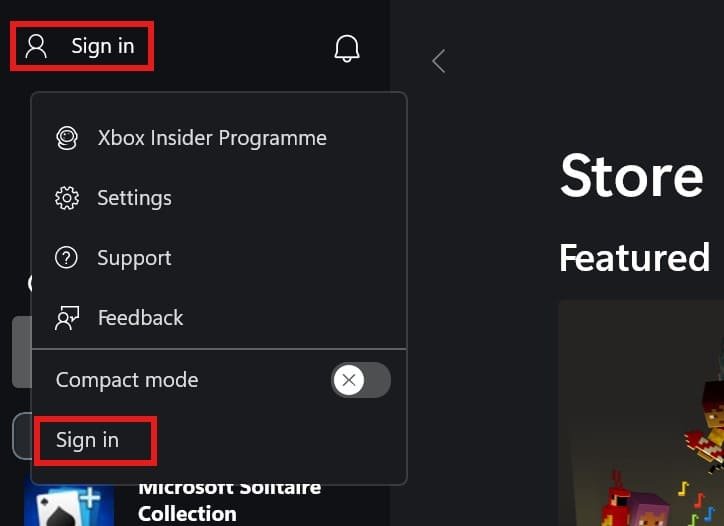
- Once you sign out, you’ll see a sign-in screen. Click “Sign In“.

- Next, type in your “email address and password” for the Microsoft account linked to the Xbox profile you want to use.
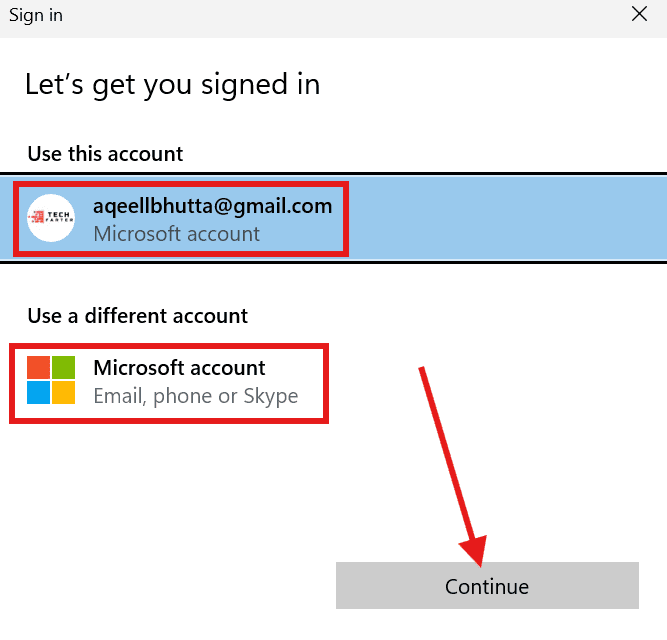
Make sure you’re signing in with the correct account. Double-check the email address associated with the desired profile.
Once signed in, you’ll see your new gamer tag displayed in the top right corner.
Tips for Smooth Account Switching
- Sign in with the Correct Microsoft Account: Ensure that you sign in to the correct Microsoft account linked to your Xbox profile for seamless access to your games, saves, and Xbox Live services.
- Use the Xbox Game Bar: The Xbox Game Bar in Windows 11 provides a quick and easy way to switch between Xbox accounts. Press “Windows + G” to open the Game Bar, then click on the profile icon and select “Switch” to change accounts.
- Utilize the Start Menu: You can switch Xbox accounts directly from the Windows 11 Start Menu. Click on the profile picture in the bottom-left corner, then select the “Switch” option to change to a different account.
- Set up Multiple User Profiles: Consider creating separate user profiles in Windows 11 for each family member or individual who uses the same PC. This allows for faster and more secure account switching.
- Manage Account Permissions: Ensure each user account has the proper permissions and access levels for their Xbox activities, such as game purchases, sharing, and parental controls.
- Sync Xbox Game Saves: Enable Xbox Cloud Gaming to sync your game saves across devices. Syncing will make it easier to continue gameplay on different accounts or devices.
- Use Separate Local Accounts: If multiple people use the same Windows 11 PC, you should create separate local accounts for each person instead of relying on a single Microsoft account to maintain privacy between users.
- Keep Drivers and Software Up-to-Date: Regularly update your Windows 11, Xbox, and graphics driver software for compatibility and better performance during account switching.
Following these tips, you can enjoy a seamless and efficient account-switching experience when using Xbox on your Windows 11 PC.
Conclusion
Switching Xbox accounts on Windows 11 is easy and takes only a few steps. You can swap accounts and play smoothly by keeping the correct credentials, a stable internet connection, and a Microsoft account to synchronize your game data. Use these techniques to switch accounts easily and resume playing your favorite games.
FAQs: How to Switch Accounts on Xbox App on Windows 11
Can I Switch Microsoft Accounts on my PC?
Switching Microsoft accounts on your PC enables you to sign out of your current account and sign in with a new one. Here’s how to do that
- Click on the Windows Start icon (bottom left corner).
- Select “Settings” (gear icon).
- Click on “Accounts”.
- Select “Microsoft account” or “Work or school account”.
- Click “Sign Out” and then “Sign in with a different account”.
- Enter the username and password of the new account you want to switch to.
Will My Game Progress be Affected If I Switch Accounts?
Yes, switching accounts may affect your game progress.
Each account has its own separate game saves and progress. Your progress may not transfer to the new account. Some games may allow cloud syncing, but it’s not guaranteed. You can check the game’s settings or support page for more information.
Will Switching Accounts Affect My Xbox Subscription Services Like Xbox Game Pass?
Switching accounts may affect your Xbox subscription services like Xbox Game Pass. Your subscription is tied to your Microsoft account, so switching accounts may require you to re-subscribe or re-authorize the service. You may need to sign in with your new account and re-enable the subscription.
Some subscriptions may transfer automatically, but it’s best to check your subscription status after switching accounts.
You can do this by going to the Xbox app settings or the Microsoft website. If you have issues, contact Xbox support for assistance.

