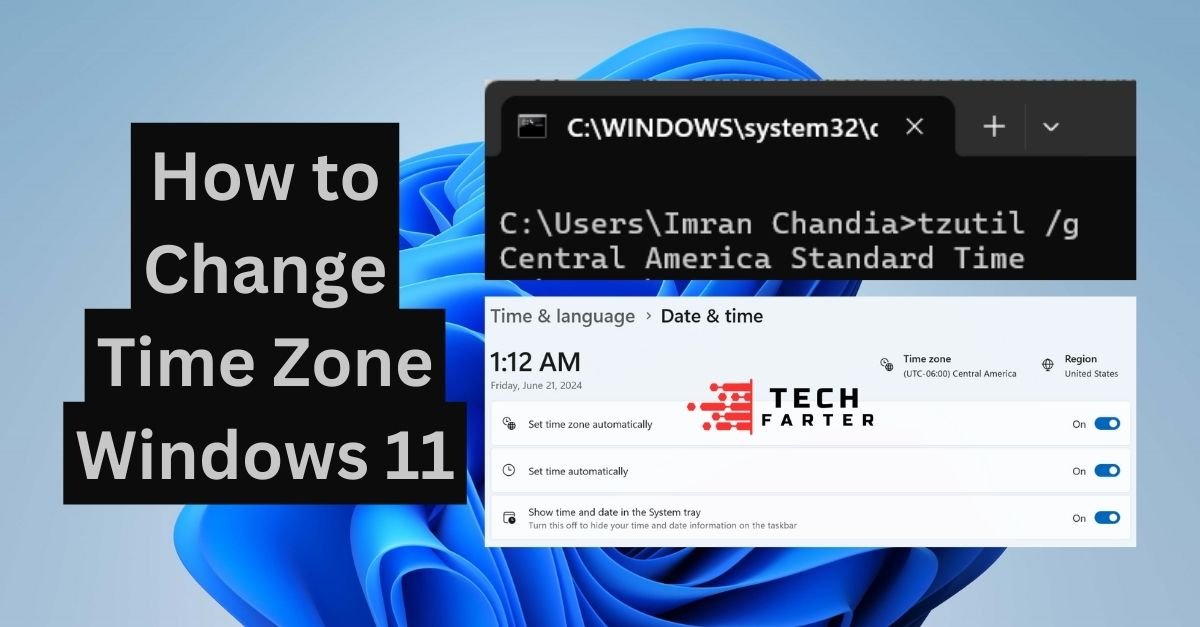
Does “Windows 11 change the time zone greyed out” with your computer’s clock, and you can’t change the time zone? Not to worry! With Windows 11, setting up the time zone is simple. No matter where you are in the world, you can make sure your computer shows the right time with a few clicks. You can easily change your Windows 11 time zone by following the instructions in this article.
How to Change Time Zone in Windows 11
Changing the time zone in Windows 11 using two simple methods:
Time Zone Settings in Windows 11
Maintaining an accurate time zone on your computer helps you see the right time and date and keeps things clear while planning events or working with people. This is a brief tutorial on changing the time zone in Windows 11 and 10:
- Click on the Start menu and select “Settings,” or right-click the Windows icon on the taskbar and choose “Settings.”
- On the left-hand side of the Settings window, find “Time & language” and click on it.
- Within the “Time & language” options, select “Date & time.”
- Look for the “Time zone” option. You’ll see a drop-down menu where you can choose your preferred time zone.
- If you travel frequently or want your time zone to update automatically based on your location, enable the “Set time zone automatically” toggle switch.
With these simple steps, you can successfully adjust the time zone on your Windows 11 computer.
Changing Time Zone in Windows 11 Using Command Prompt (CMD)?
The most frequently used commands for changing the time zone using the command prompt.
- tzutil /g: will show the current time zone
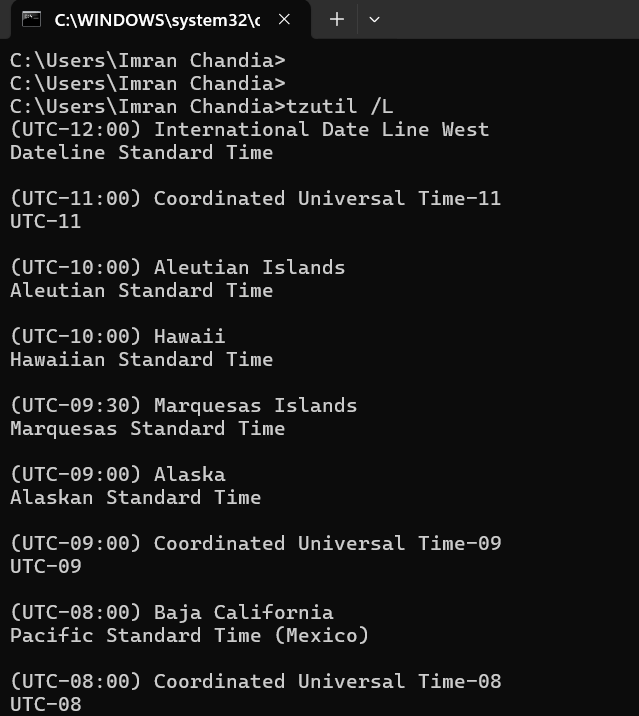
- tzutil /L: will list all the available time zones
- tzutil /s “time zone name”: will set your desired time zone
Here is a step-by-step process of how you can use the command prompt to switch between the different time zones:
- Press the Windows+R key and then write “cmd” to open a command prompt and hit Enter.
- Type tzutil /g to see the current time zone.

- To enable the command to work properly, you need to have the exact name of the time zone. To see the available list of time zones used in Windows 11 and 10, use the command tzutil /L, and then you can copy the name and paste it into the next command.
- Now, to change the time zone from Central America Standard Time to any other time zone, use the command tzutil /s “your time zone.”.

Where in “Your time zone,” you can set any desired time zone.
The command will be:
tzutil /s “Pacific Standard Time”
Just type “exit” to exit the command prompt window.
How to Change Time Server in Windows 11?
Fixing Time Sync Issues on Windows 10 & 11 that will keep your computer time accurate. Here is a fix.
Changing a Different Time Server in Windows 11 and 10
Normally, Windows uses Microsoft’s time server (time.windows.com) to keep your clock in sync. If that’s causing problems, you can switch to a different reliable server called time.nist.gov. Here’s how:
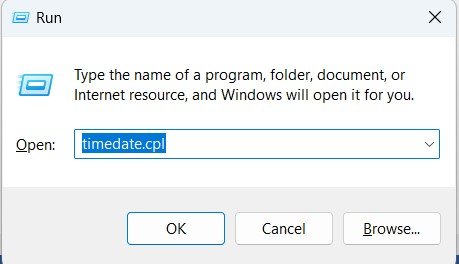
- Press the Win+R key, then type “timedate.cpl” in the dialogue box and press Enter.
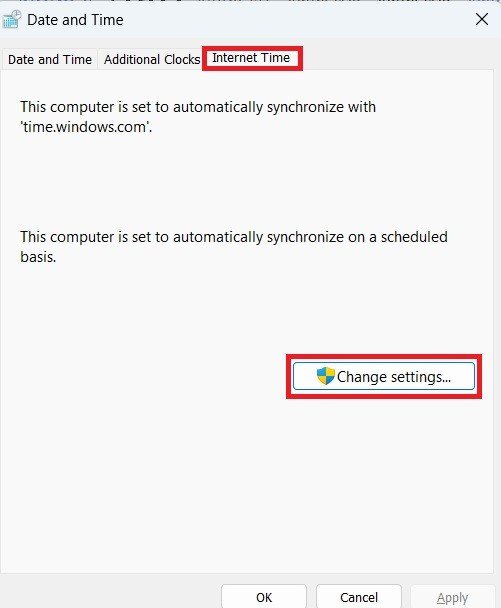
- Click on the “Internet Time” tab.
- Click “Change settings.”
- If the server dropdown is grayed out, click the checkbox next to “Synchronize with an internet time server.”
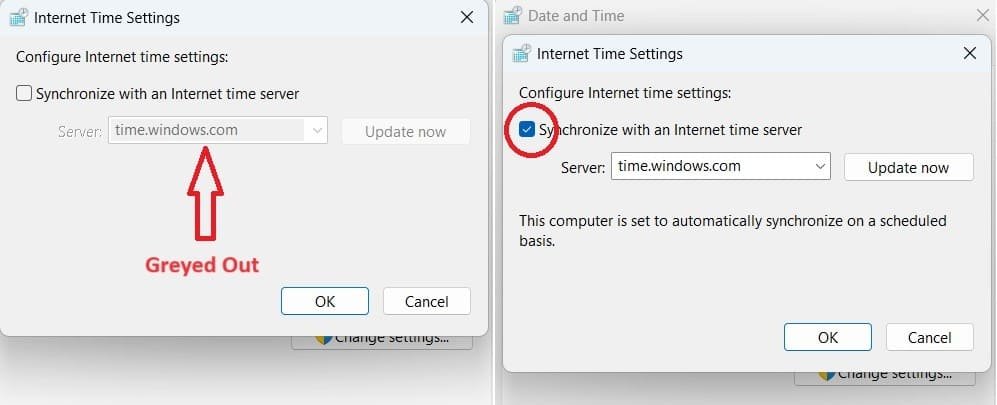
- Choose “time.nist.gov” from the server dropdown and click “Update now.”
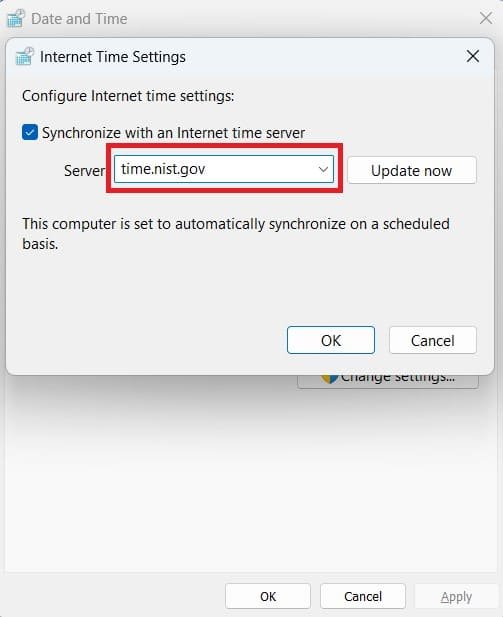
- Click “OK” to save your changes.
Conclusion
This simple guide ensures your Windows 11 PC displays the correct time zone, allowing you to adjust the settings in just minutes. While customizing your setup, you can also show or hide desktop icons in Windows 11 to keep your workspace organized and clutter-free. With these quick adjustments, you can stay on top of your daily tasks with ease.
Why can’t I change my device time zone?
You can't change the time zone if location services are disabled, your account lacks administrator permissions, or if your device is managed by an organization. Corrupted system files or outdated software may also be the cause.
How do I change the time layout in Windows 11?
- Open Settings (
Win + I). - Go to Time & language > Date & time.
- Under Formats, click Change formats.
- Select your preferred time format (e.g., 12-hour or 24-hour).