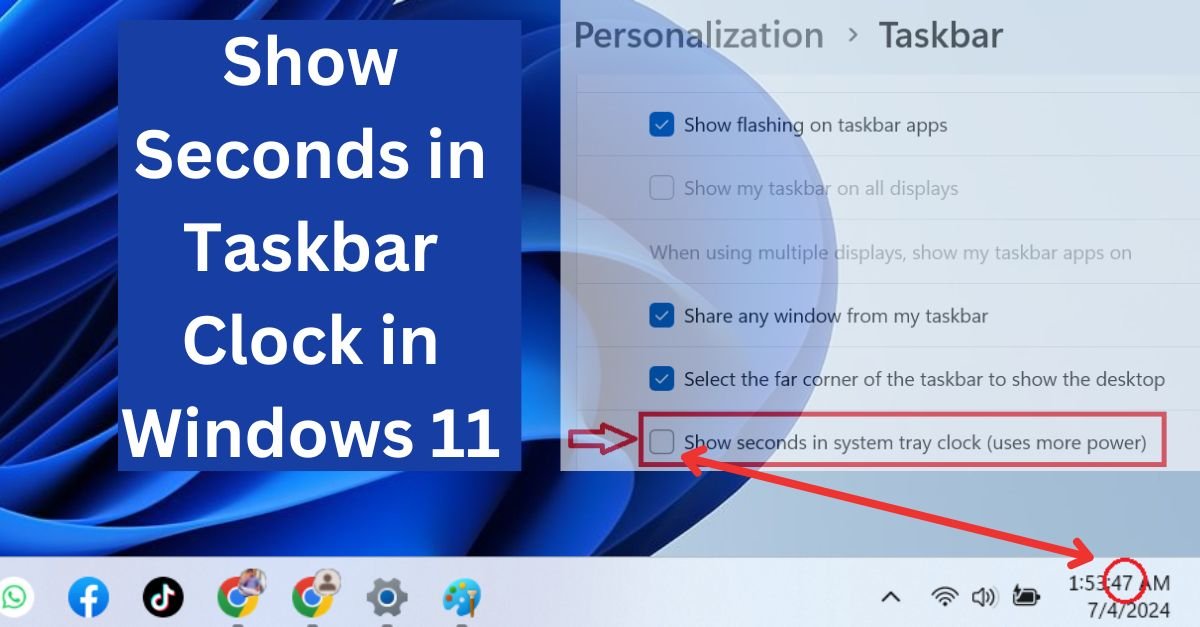
By default, the Windows 11 taskbar clock only shows hours and minutes, not seconds. You can fully customize by changing the time Zones in the Windows clock according to your region and adding seconds to your taskbar clock effortlessly. In this comprehensive quick guide, we will walk you through a simple process to show seconds in Taskbar Clock in Windows 11. It only takes a few clicks and you’ll see the seconds on your Windows 11 taskbar.
Let’s get those seconds ticking on your Windows 11 taskbar!
Quick Solution
- Right-click on Taskbar > Choose “Taskbar Settings” Right-click.
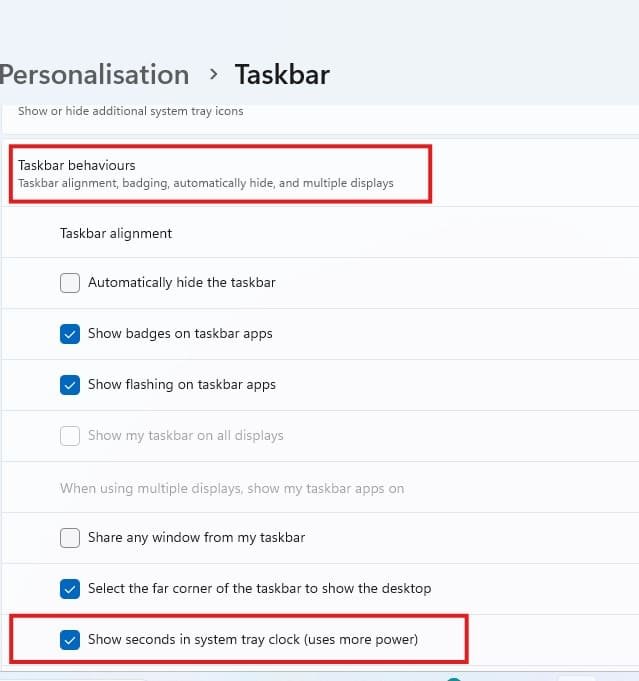
- Click on Taskbar behaviors> check the box “Show seconds in system tray clock”
Method 1: Show Seconds in Windows 11 Taskbar Clock Using Settings
The easiest way to show seconds on your Windows 11 taskbar clock is through Settings. It just takes a few simple steps! Here is how:
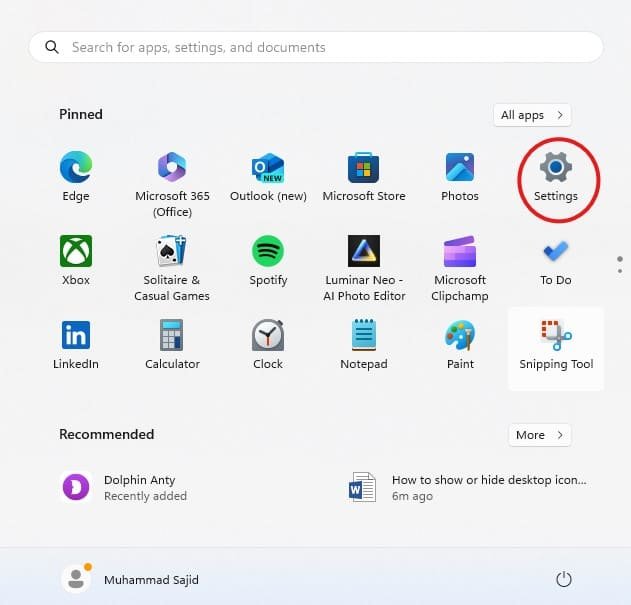
- Press “Window key + I” and open the settings. Or, press the Windows button on the keyboard and click on Settings.

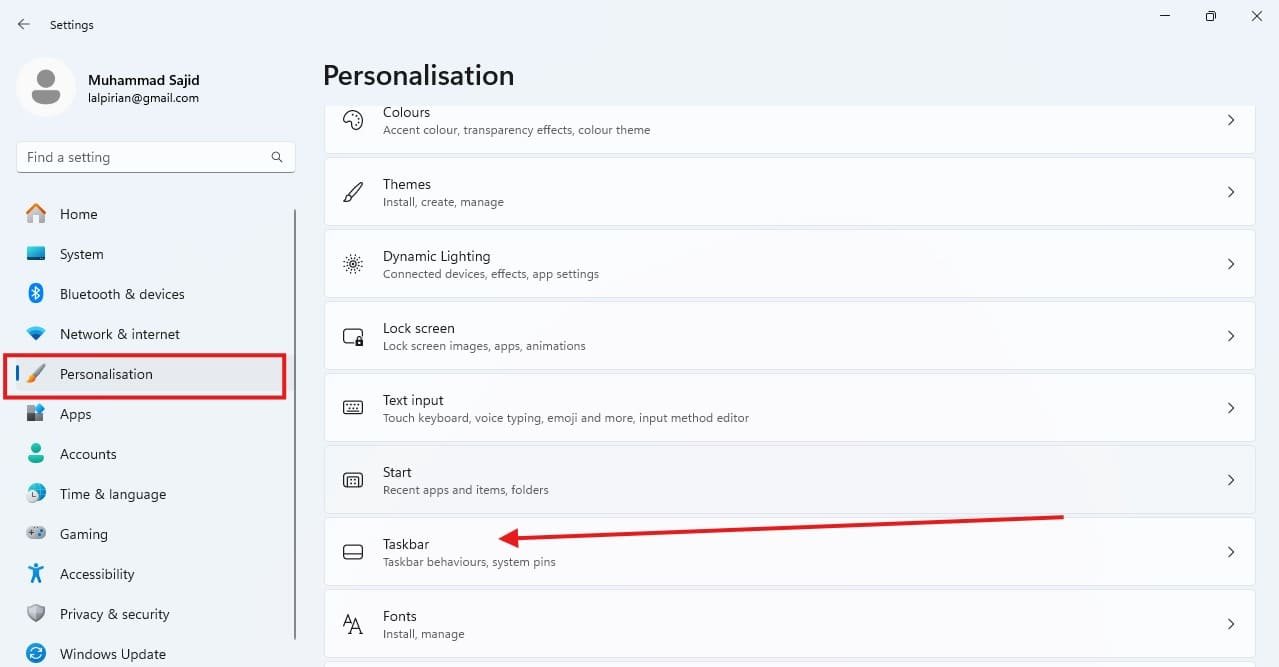
- Click on Personalization then open Taskbar.

- Now click on “Taskbar behaviors” and check the box next to “Show seconds in system tray clock“.
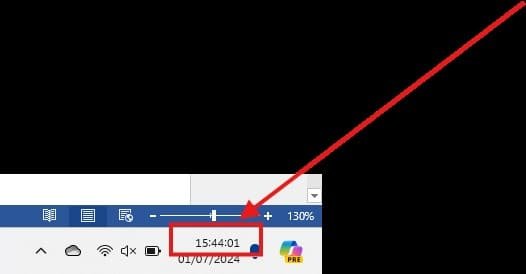
The seconds should now appear in the taskbar clock!
Method 2: Displaying Seconds in Windows 11 Taskbar Clock Using Registry Editor
The Windows settings controls the overall computer customization, and the registry almost do the same. Editing it can be risky. Here’s a safe way to show seconds on your clock using the registry.
Follow these steps:
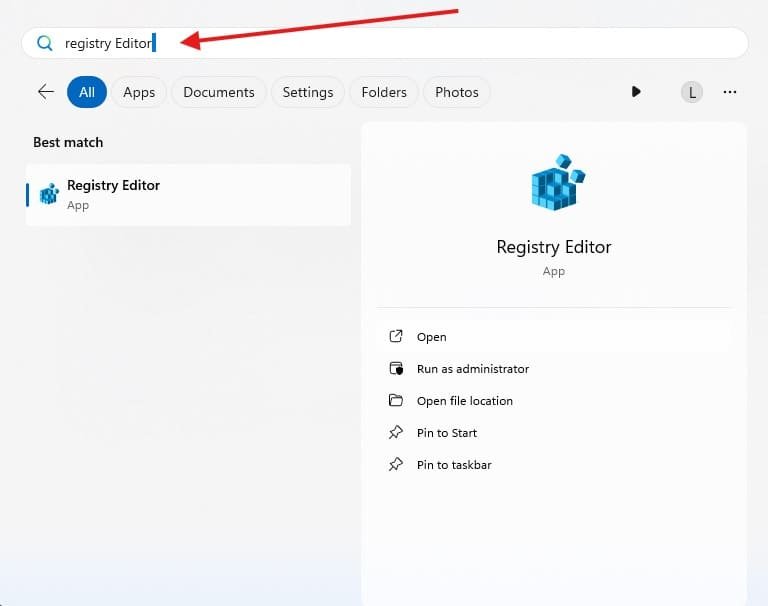
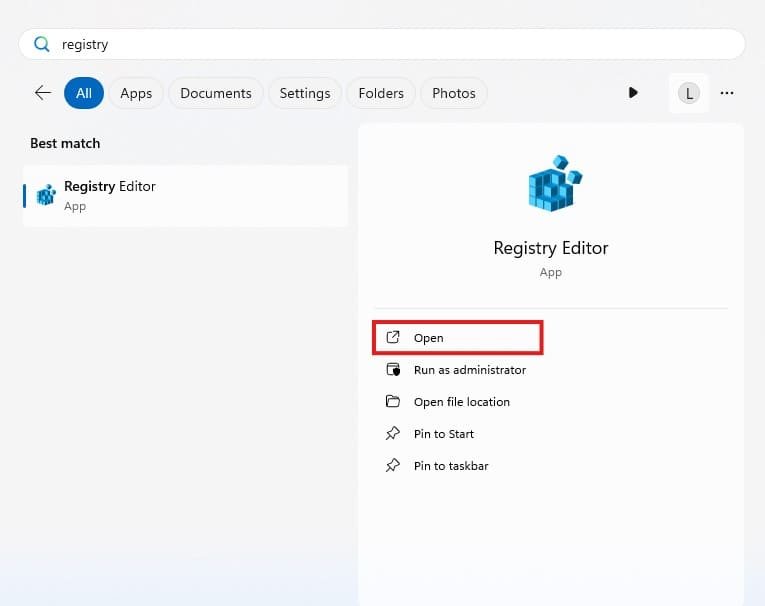
- Press the “Win + S” to open the search bar and type “Registry Editor.”

- Open the “Registry.”

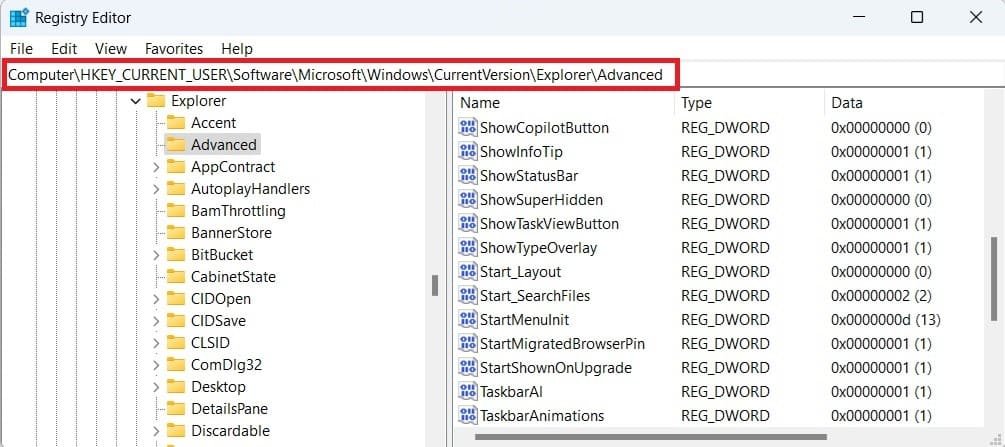
- Navigate to the following path in the Registry Editor:Computer\HKEY_CURRENT_USER\Software\Microsoft\Windows\CurrentVersion\Explorer\Advanced

- Right-click on the “Advanced” folder and go to “new” and then click on “DWORD (32-bit) Value”.
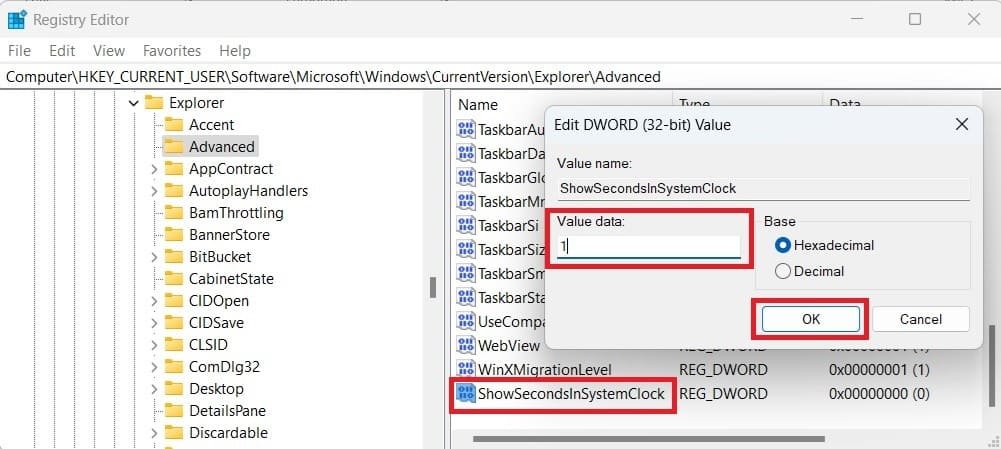
- Rename the new value as “ShowSecondsInSystemClock.”
- Double-click on ”ShowSecondsInSystemClock” to change its value from 0 to 1.
- In the Value data field, enter “1” and click OK.

- Restart your PC (if required).
It will instantly start showing seconds at your taskbar in Windows 11. Now, let’s move ahead to another solution..
Method 3: Show Seconds in Windows 11 Taskbar Clock Using Windows PowerShell
You can use Windows PowerShell to show Seconds in Windows 11 Taskbar Clock. Here are the steps, you can follow:
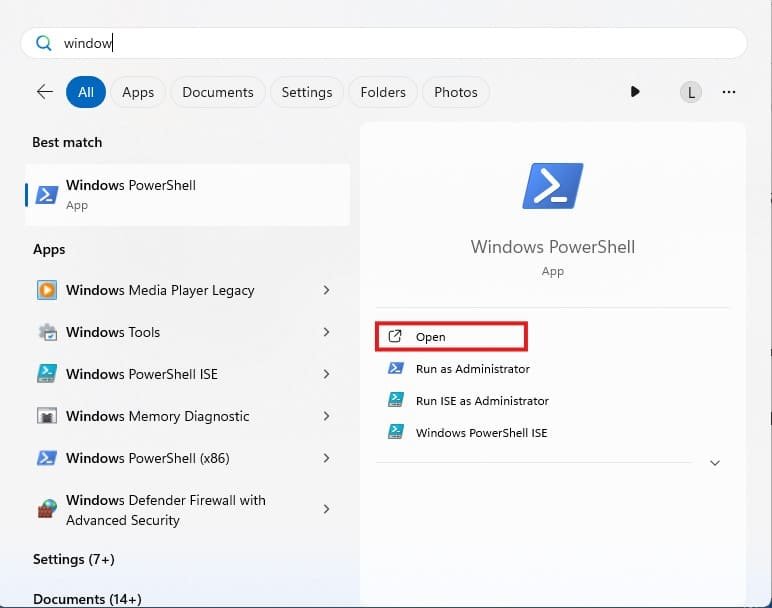
- Press “Win + S” then on the search bar type “PowerShell” or Windows PowerShell.

- In the PowerShell interface, copy and paste the following command and press enterSet-ItemProperty -Path HKCU:\Software\Microsoft\Windows\CurrentVersion\Explorer\Advanced -Name ShowSecondsInSystemClock -Value 1 -Force

If the changes won’t take effect, just restart your pc.
Conclusion
In conclusion, you have three simple methods to display seconds in your Windows 11 taskbar clock! Whether you prefer using the Settings app, editing the Registry Editor, or using a PowerShell command, there’s a solution that will show Seconds at the taskbar clock. Remember, the Settings method is the quickest and easiest option, while the Registry Editor and PowerShell offer alternative approaches. Choose the method that best suits your needs and enjoy keeping track of every second on your taskbar!
FAQs: How to Show Seconds in Taskbar Clock in Windows 11?
Which method is the easiest to show seconds in the taskbar clock?
The easiest method is through Settings. Simply right-click the taskbar, select “Taskbar settings,” click “Taskbar behaviors,” and check the box next to “Show seconds in system tray clock.”
Is it safe to edit the Registry Editor to show seconds?
Editing the Registry can be risky if done incorrectly. While the instructions provide a safe way, using Settings is the recommended approach for most users.
What is the benefit of using PowerShell?
PowerShell offers a more advanced and the quickest way to achieve the same result. It’s useful if you’re comfortable with scripting or want to automate the process.
My Seconds aren’t showing after following the steps. What should I do?
Ensure you restart your computer after making the changes. If you used the Registry Editor or PowerShell, double-check that you followed the steps precisely. If the issue persists, consider searching online for troubleshooting steps specific to your situation.
References:

