
Formatting a USB drive to FAT32 in Windows 11 is essential for compatibility with different operating systems and devices. Whether you are preparing a storage device for a game console, a bootable installation, or simply to ensure smooth operation, understanding how to properly format your USB drive is crucial.
This guide will walk you through the best methods to format a USB to FAT32 Windows 11, explaining each step in detail.
Quick Method: Format USB to FAT32
- Connect your USB flash drive to your Windows 11 PC.
- Press Windows + E and locate the USB under This PC.
- Select Format from the drop-down menu.
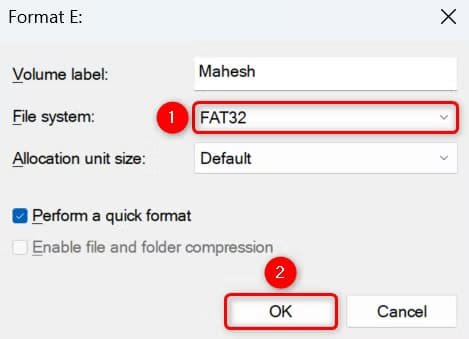
- Select FAT32 from the File System options.
- Enter a name for your USB drive.
- Check Quick Format for a faster process or uncheck for a full format.
- Click Start, then confirm by selecting OK.
- Once done, click Close, and your USB is now formatted to FAT32.
This method is the simplest and fastest way to format a USB drive on Windows 11.
Why format a USB to FAT32 in Windows 11?
Before diving into the process, let’s explore why you might need to format the USB drive Windows 11 to FAT32:
- Cross-Platform Compatibility: FAT32 is supported by Windows 11, Windows 10, macOS, Linux, and game consoles like PlayStation and Xbox.
- Bootable USB Creation: Many bootable installation media require FAT32 as the file system.
- Older Device Support: Some older devices only recognize FAT32-formatted drives.
- Data Corruption Prevention: Reformatting can resolve issues like USB not detected, Windows 11 or storage corruption.
However, FAT32 has limitations. It cannot store files larger than 4GB, and it has a partition limit of 32GB in Windows 11. If you need to store larger files, you may consider NTFS or exFAT.
Methods to Format USB to FAT32 in Windows 11
1. Using Windows File Explorer
The easiest method to format a USB in Windows 11 is through the Windows File Explorer format tool.
Steps:
- Open File Explorer by pressing
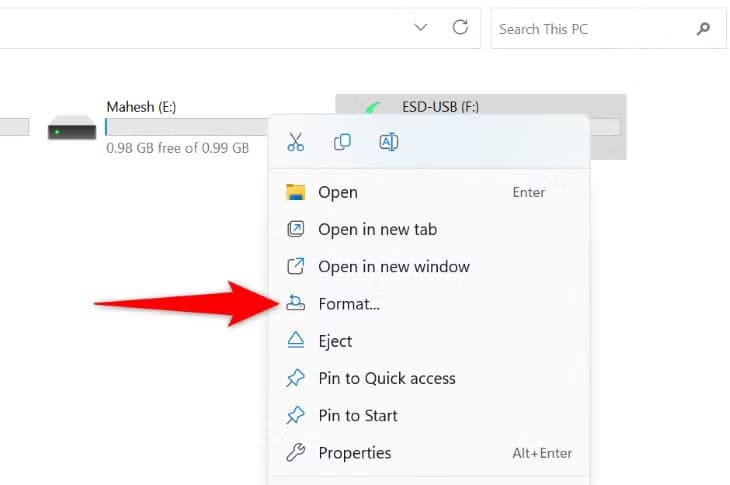
Win + E. - Right-click the USB drive and select Format.

- Under File System, choose FAT32.
- Select Quick format or Full format.
- Click Start to begin formatting.


Tip: Quick format vs. full format: A quick format removes files but keeps the structure intact, while a full format erases everything permanently.
2. Using Windows 11 Disk Management
If File Explorer doesn’t work or you need advanced options, try Windows 11 Disk Management.
Steps:
- Press
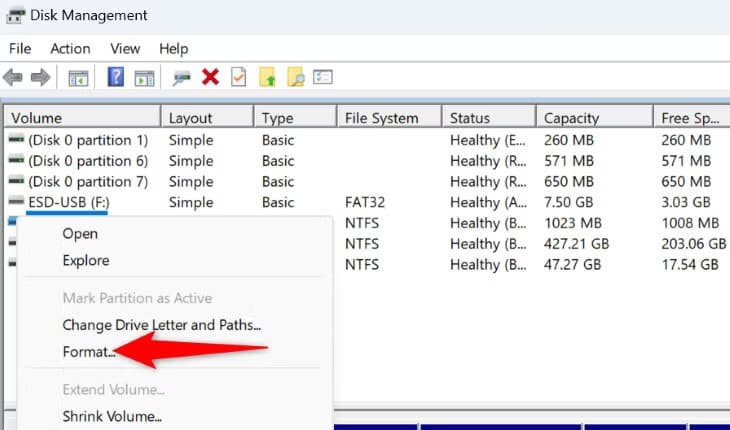
Win + Xand select Disk Management. - Find your USB flash drive and right-click it.

- Choose Format and set the file system to FAT32.
- Click OK and confirm the process.

Note: If the USB drive is larger than 32GB, Windows 11 may not allow FAT32 formatting through Disk Management.
3. Using Command Prompt (CMD)
For users comfortable with command-line tools, Command Prompt format USB is a powerful method.
Steps:
- Open Command Prompt (
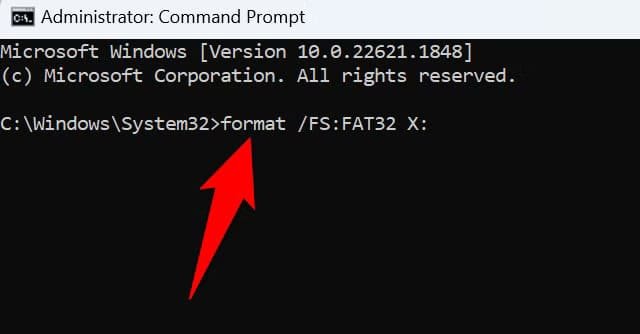
Win + R, typecmd, pressEnter). - On the Command Prompt window, type the following command, replacing
Xwith the letter of your USB flash drive. Then, press Enter.Format/FS: FAT32 X:

Advantages: Works for drives larger than 32GB; forces formatting if other methods fail.
4. Using PowerShell
PowerShell format FAT32 is another command-line method.
Steps:
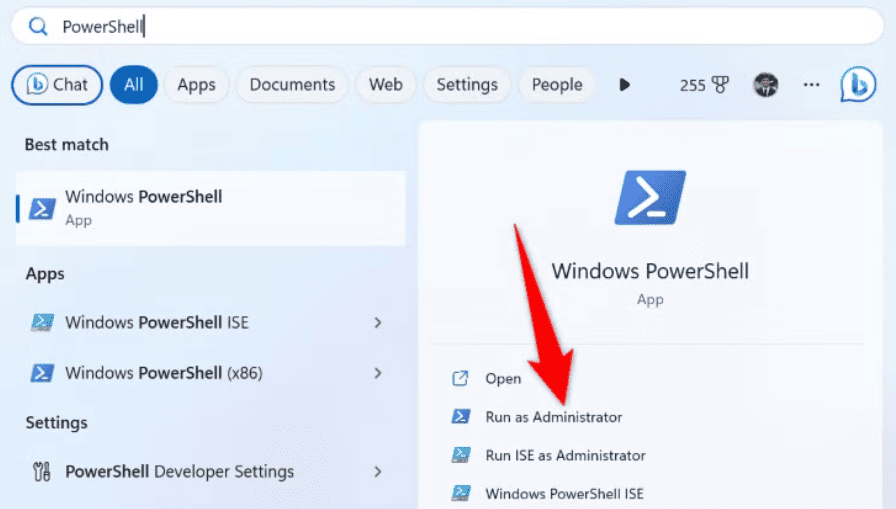
- Open PowerShell as Administrator.

- Run:
Format-Volume -DriveLetter X -FileSystem FAT32 -Force(Replace
Xwith your USB drive’s letter.)
Advantage: Works even if disk management fails.
Related: How to Allocate SSD in Windows 11: A Comprehensive Guide
5. Using Third-Party Tools
Several tools bypass Windows’ 32GB FAT32 limit:
- Rufus FAT32 formatting tool—ideal for creating bootable USB FAT32.
- EaseUS Partition Master FAT32: Supports large drives.
- MiniTool Partition Wizard USB format—easy-to-use interface.
- HP USB Disk Storage Format Tool—popular for troubleshooting.
How to Format a USB to FAT32 Without Losing Data
If you don’t want to lose files, follow these steps:
- Backup your data before formatting.
- Use Convert USB to FAT32 Windows 11 via third-party tools.
- Use the
convertcommand in Command Prompt, but note this only works for NTFS to FAT32.
Fixing Common Errors in USB Formatting
1. Can’t Format USB to FAT32 Windows 11 Fix
If you get an error:
- Ensure the USB flash drive is properly connected.
- Disable Write protection.
- Use Command Prompt or third-party tools.
2. Windows 11 USB Formatting Error Fix
- Run Check Disk (chkdsk):
chkdsk X: /f(Replace
Xwith the USB drive letter.) - Use diskpart to clean and format.
3. USB Not Detected Windows 11
- Check in Disk Management.
- Update USB drivers via Device Manager.
- Try another USB port or PC.
FAT32 vs. NTFS vs. exFAT: Which One to Choose?
| File System | Max File Size | Best For |
|---|---|---|
| FAT32 | 4GB | Universal compatibility |
| NTFS | No limit | Windows-only use |
| exFAT | No limit | Windows & Mac |
Use FAT32 if you need broad compatibility. Use NTFS or exFAT for large files.
Conclusion
Formatting a USB flash drive to FAT32 in Windows 11 is easy with the right method. Windows File Explorer format tool, Windows 11 Disk Management, Command Prompt, PowerShell, and third-party tools all provide effective solutions. If you encounter errors, tools like EaseUS Partition Master FAT32 or Rufus FAT32 formatting tool can help. Windows 11 storage management ensures smooth operation, and understanding USB file system Windows 11 options helps avoid future issues.
FAQs: How to Format a USB to FAT32 in Windows 11: A Complete Guide
Is FAT32 compatible with Windows 11?
Yes, Windows 11 can read and write FAT32 drives, but it cannot format drives larger than 32GB in FAT32 using built-in tools. Use exFAT or NTFS for better compatibility with large files.
How to format card to FAT32 in Windows 11?
Using File Explorer:
- Insert the card and open File Explorer (
Win + E). - Right-click the drive, select Format.
- Choose FAT32 under File system, click Start.
- Insert the card and open File Explorer (
Using Command Prompt (For larger than 32GB):
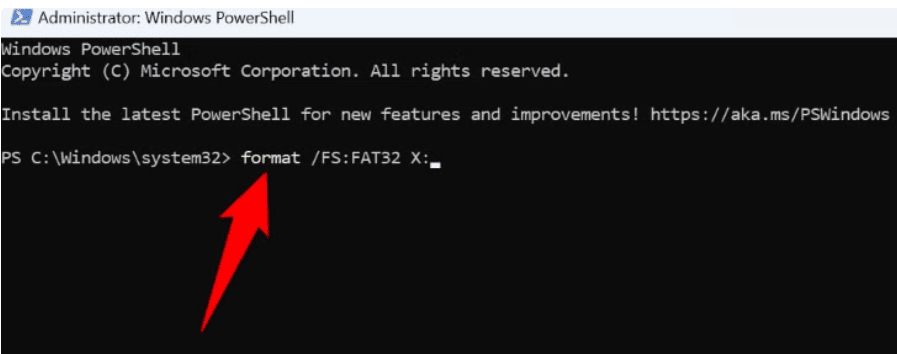
- Open Command Prompt as Admin.
- Type:
format /FS:FAT32 X:(Replace X with your drive letter). - Press Enter and wait for the process to complete.
For drives larger than 32GB, use third-party tools like Rufus or GUIFormat.
How to convert exFAT to FAT32 Windows 11?
Windows does not support direct conversion from exFAT to FAT32, so you need to format the drive:
- Backup your data (formatting will erase all files).
- Open File Explorer (
Win + E), right-click the drive, and select Format. - Choose FAT32 under File System and click Start.
For drives larger than 32GB, use Command Prompt:
- Open Command Prompt as Administrator.
- Type:
format /FS:FAT32 X:(Replace X with your drive letter) and press Enter.
Alternatively, use third-party tools like Rufus or GUIFormat for larger drives.